What comes to mind when asked about “core training?” ABS, ABS, ABS! We’ve been taught that back pain can be prevented by strengthening the core muscles, specifically the abdominals along with pelvic tilts and hip bridges. However, strength training and rehab programs often overlook the integration of functional breathing. The diaphragm has the dual function as both a respiratory and postural muscle. Better breathing is essential for every purposeful movement in life.
Functional breathing is functional strength.
Thinking beyond your 6-pack, your deep core functions in an integrated fashion and should be regarded as a 3D unit. What is your deep core? Picture a box with the diaphragm on top, abdominal wall in the front, spinal muscles at the back, the pelvic floor and hip muscles at the bottom. When the diaphragm is functioning properly, it is used to fill the lungs from the bottom to the top. During the inhalation, the downward movement of the diaphragm exerts a force on the 3D box regulating intra-abdominal pressure (IAP). IAP is essential for core stability, freedom of movement and injury prevention.
The diaphragm is the primary core stabilizer.
Because it is not always easy to feel the diaphragm move, we can focus on the different parts of the 3D box as well as the rib cage to provide feedback. Before you get started waking up the diaphragm, here are a few tips:
- Do not wear tight pants or a belt. Unbuckle them!
- Perform these on an empty stomach!
- Sit tall to create space for the diaphragm to move.
- Relax your abdominals.
- Breathing should be light and quiet.
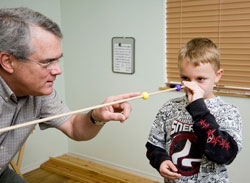
#1: The Nose Knows How to Breathe
Research has shown that mouth breathing with the tongue lying on the floor of the mouth prevents the diaphragm from doing its job as a deep stabilizer and has a negative impact on sports performance. So the first exercise addresses breathing through the nose with the tongue in its proper position! This will take some practice.
- Say the letter “N” to find the correct resting tongue position. Feel 2/3 of the tongue up against the roof of the mouth, sitting just behind the upper front teeth. Close the mouth with lips together and very light contact if any between the teeth.
- Now bring your attention to the nose, the entry site of the breath. As you inhale, feel the coolness of the air in the nostrils and throat. This requires deliberately slowing down the inhale, as if you are smelling a fine wine. Savour your breath!
#2: Shoulder Free Breathing
Your neck and upper trap muscles should not be involved during restful inhalation. If your chest and shoulders are rising during the inhale, the diaphragm is not working. Here’s one way to correct this:
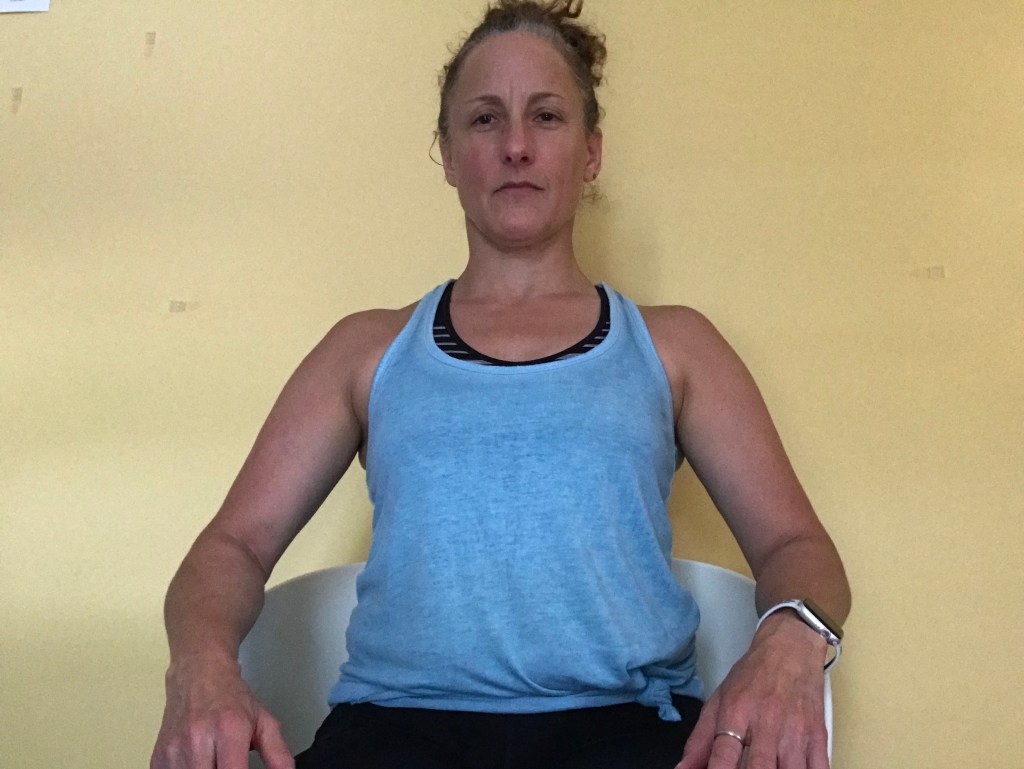
Sit toward the front of a chair resting your forearms on the armrests.
To disengage the neck and upper traps, press the forearms down while lengthening up through the spine.
Relax the belly.
With the mouth closed and tongue in resting position, breathe in gently and slowly through the nose.
For a few breaths focus on the cool air entering the nose. Next shift your attention to the belly or rib cage, the 3-D box. You should feel either, or both, moving outward on the inhale.
#3: Belly Breathing (two parts)
This position places the head, chest, spine and pelvis in a neutral position. Lie on your back with the legs bent and calves supported on a couch or ottoman. Let the couch support your legs. If you have a tendency to overextend the neck, place a small pillow under the head. Tuck your chin down to lengthen the back of the neck.

Part 1: Place your hands just over the navel. Take a slow, gentle breath in through the nose for about 5 seconds and feel your hands rise with the breath. Slowly exhale through the nose for 5 seconds and feel your hands sink back down. Practice 5- 10 breaths.

Part 2: This time the focus is on feeling the pelvic floor move with the breath. Place your hands on the lower portion of the belly just above the groin. Using the same inhale and exhale pattern, feel the lower abdomen, and hopefully the pelvic floor, rise and fall. Practice 5 -10 breaths.
#4: Better Breathing to the Back
Rigidity of the rib cage and spine can prevent the expansion of the 3D box. There are two options to choose from – child’s pose with your knees together or lying face down on the floor. In either position, the thighs or the floor will provide resistance to the forward motion of the belly. This will aid in expanding the breath to the back and help to mobilize the spine and ribs.

Inhale slowly through the nose and feel the belly expand against your thighs (or floor).
Practice 5 to 10 breaths.
#5: Now Exhale
The diaphragm muscle is typically passive on the exhale and recoils to it resting position. This exercise actively engages upward movement, creating more of a stretch. As you count during the exhale, you should feel your rib cage dropping down and in.

Sit tall with the chin parallel to the floor.
Place your hands on the sides of the lower rib cage.
Take a slow, gentle breath in through the nose.
As you exhale, count aloud from one to ten.
As you reach the natural conclusion of the exhale, keep counting to empty your lungs. Your voice will sound like a whisper.
Practice for 5 – 10 breaths.
Improvements in strength, sports performance and core stabilization start with your breath. There are many types of breathing techniques including Pranayama, Buteyko, Tummo, Wim Hof, Coherent Breathing, Holotropic Breathwork, etc., that are meant to restore and retain balance in the body. The above exercises are just a sampling that can be practiced at any time; integrated into your workouts either as part of the warm-up or the cool-down, in bed to help you sleep, and during moments of stress to calm the mind. If you are struggling to find your breath and stability, I am here to help. If you are curious to learn more, check out the books below.
Anatomy of Breathing by Blandine Calais-Germain
Breath: the New Science of a Lost Art by James Nestor
Close Your Mouth: Buteyko Breathing Clinic self help manual by Patrick McKeown
The Oxygen Advantage by Patrick McKeown


 Posted by Joyce Dendy, CFO


 y to think about the eyes-brain-body connection is the eyes lead the body. Have you ever tried to stand up tall when looking down? How about throwing a ball to someone while not looking at your target? Moving our eyes in the intended direction of the task helps to activate and coordinate the appropriate muscles. Things actually feel much easier this way!
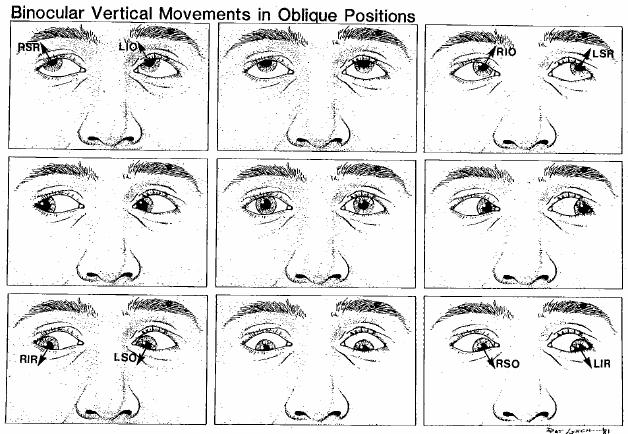 ou’re not moving your eyes in all ranges of motion on a regular basis, your body is paying the price in subtle ways you may not be aware of. So, a great place to start is with an eye drill that gets the muscles moving in all eight directions. Think of this as curls, presses, planks, and lunges for the eyes!